28 Oct Top 5 Things to Remember When Sending A File to Print
When you have a great design that you and your team spent hours perfecting for your t-shirt, brochure, or a direct mailer, it is vital to make sure your files head to the printer in the correct format, size, color, and resolution. We wrote previously on formatting document files for promotional printing, and below, we give you five ways to produce files in tip-top shape for printing! As you prepare to send your files off to be printed, follow these tips below to get your incredible design producing the best results.
- When preparing a print file: do not increase the size of a low-res file
When you increase the size of a low-resolution file, all you end up with is larger pixels and a heavier, blurry image. Pixels do not change; they just expand and contract to fill available space. Instead, work with small low-res images, or, as always, it is best to send in a high-res image. If you are looking to improve the resolution of images, most often it will require professional photography or at the very least a very high-resolution camera.
- When preparing a print file: consider leaving off drop shadows and fading
When sending in files for t-shirts, be sure to avoid drop shadows, fade effects, or anything that’s transparent for DTG (direct to garment) prints. These effects can produce unwanted areas on shirts, making them look faded, grainy, pale, and even giving the appearance of discoloration. If you are looking to add special effects to your printing, consider embossing, foil stamping, or using metallic inks on your final product. This works well with paper print products such as business cards, letterhead, envelopes, and direct mailers, and your local printer may have specialty inks in store!
- When preparing a print file: Choose your colors wisely
Neon colors that are reminiscent of the 80s are finding their way into designs of late. We get that they are hype, but we encourage you to be carefully when choosing colors to achieve dramatic results. When using neon, note that the color result may not appear as you expected. Neon colors look vibrant on a screen; however, when printed, they tend to be out of printable color range and therefore appear dull, thus leading to disappointing results. Screens make colors look brighter because they are backlit, so when choosing colors, note that neon is difficult to hold brilliance once printed.
Also consider color choices from your screen to print files, as your artwork is going to be printed in CMYK (cyan, magenta, yellow, and key) and thus needs to be sent to the printer in this format. When designing, you can work in RBG, but you need to convert images to CYMK before sending. There are ways to do this easily, such as calibrating your monitor, and you can find sources to help with this online.
- If requesting embroidery, simplify your design before sending to print
If the item you are wanting to send in requires embroidery, note that complex embroidery areas might need to be simplified. Small, complicated, and detailed embroidery designs don’t always produce expected results. Consider giving your designs a little breathing room to make your images and text easier to be seen, read, and noticed by others. Print product graphics may not work for embroidery. These files have to be the actual embroidery area dimensions, and text must be at least 0.25” in height and at least 0.05” thick. Stitch density and direction differ depending upon what you are getting embroidered; for example, hat and apparel embroidery are often different. These require specific adjustments to ensure files work completely.
- When sending in your file for printing, ensure your dimensions, dpi, and image size are correct
Dpi stands for dots per inch, and when discussing dpi for print files, we are talking about pixels per inch but still refer to it as dpi (not PPI). When sending a file in to be printed, the file should be at least 300 dpi for a hand-held printed piece, such as a flyer or brochure. Posters need a minimum resolution of about 100 dpi and billboards about 20 dpi. When considering dpi, a great thing to remember is to err on the side of resolution that is too high rather than too low. But dpi is not enough—you need to know the size of the image as well. When sending in 300 dpi, this means that each inch is 300 pixels across. If an image is 8 inches wide, there are 2,400 pixels in that width (8 X 300). Likewise, if an image is 12 inches long, the image is 3,600 pixels in length (12 X 300). To get the total pixels, multiply the length times width for a total of 8,640,000 pixels. Once you have the number of pixels within an image, you can get file size. If the image is grayscale, each pixel is 8 bits, or 1 byte in file size, therefore producing an image that is 8,640,000 bytes, or 8.2 MB. This knowledge will lend itself to a more specific understanding of images. In summary, know dpi as well as image size before sending your file off to the printer.
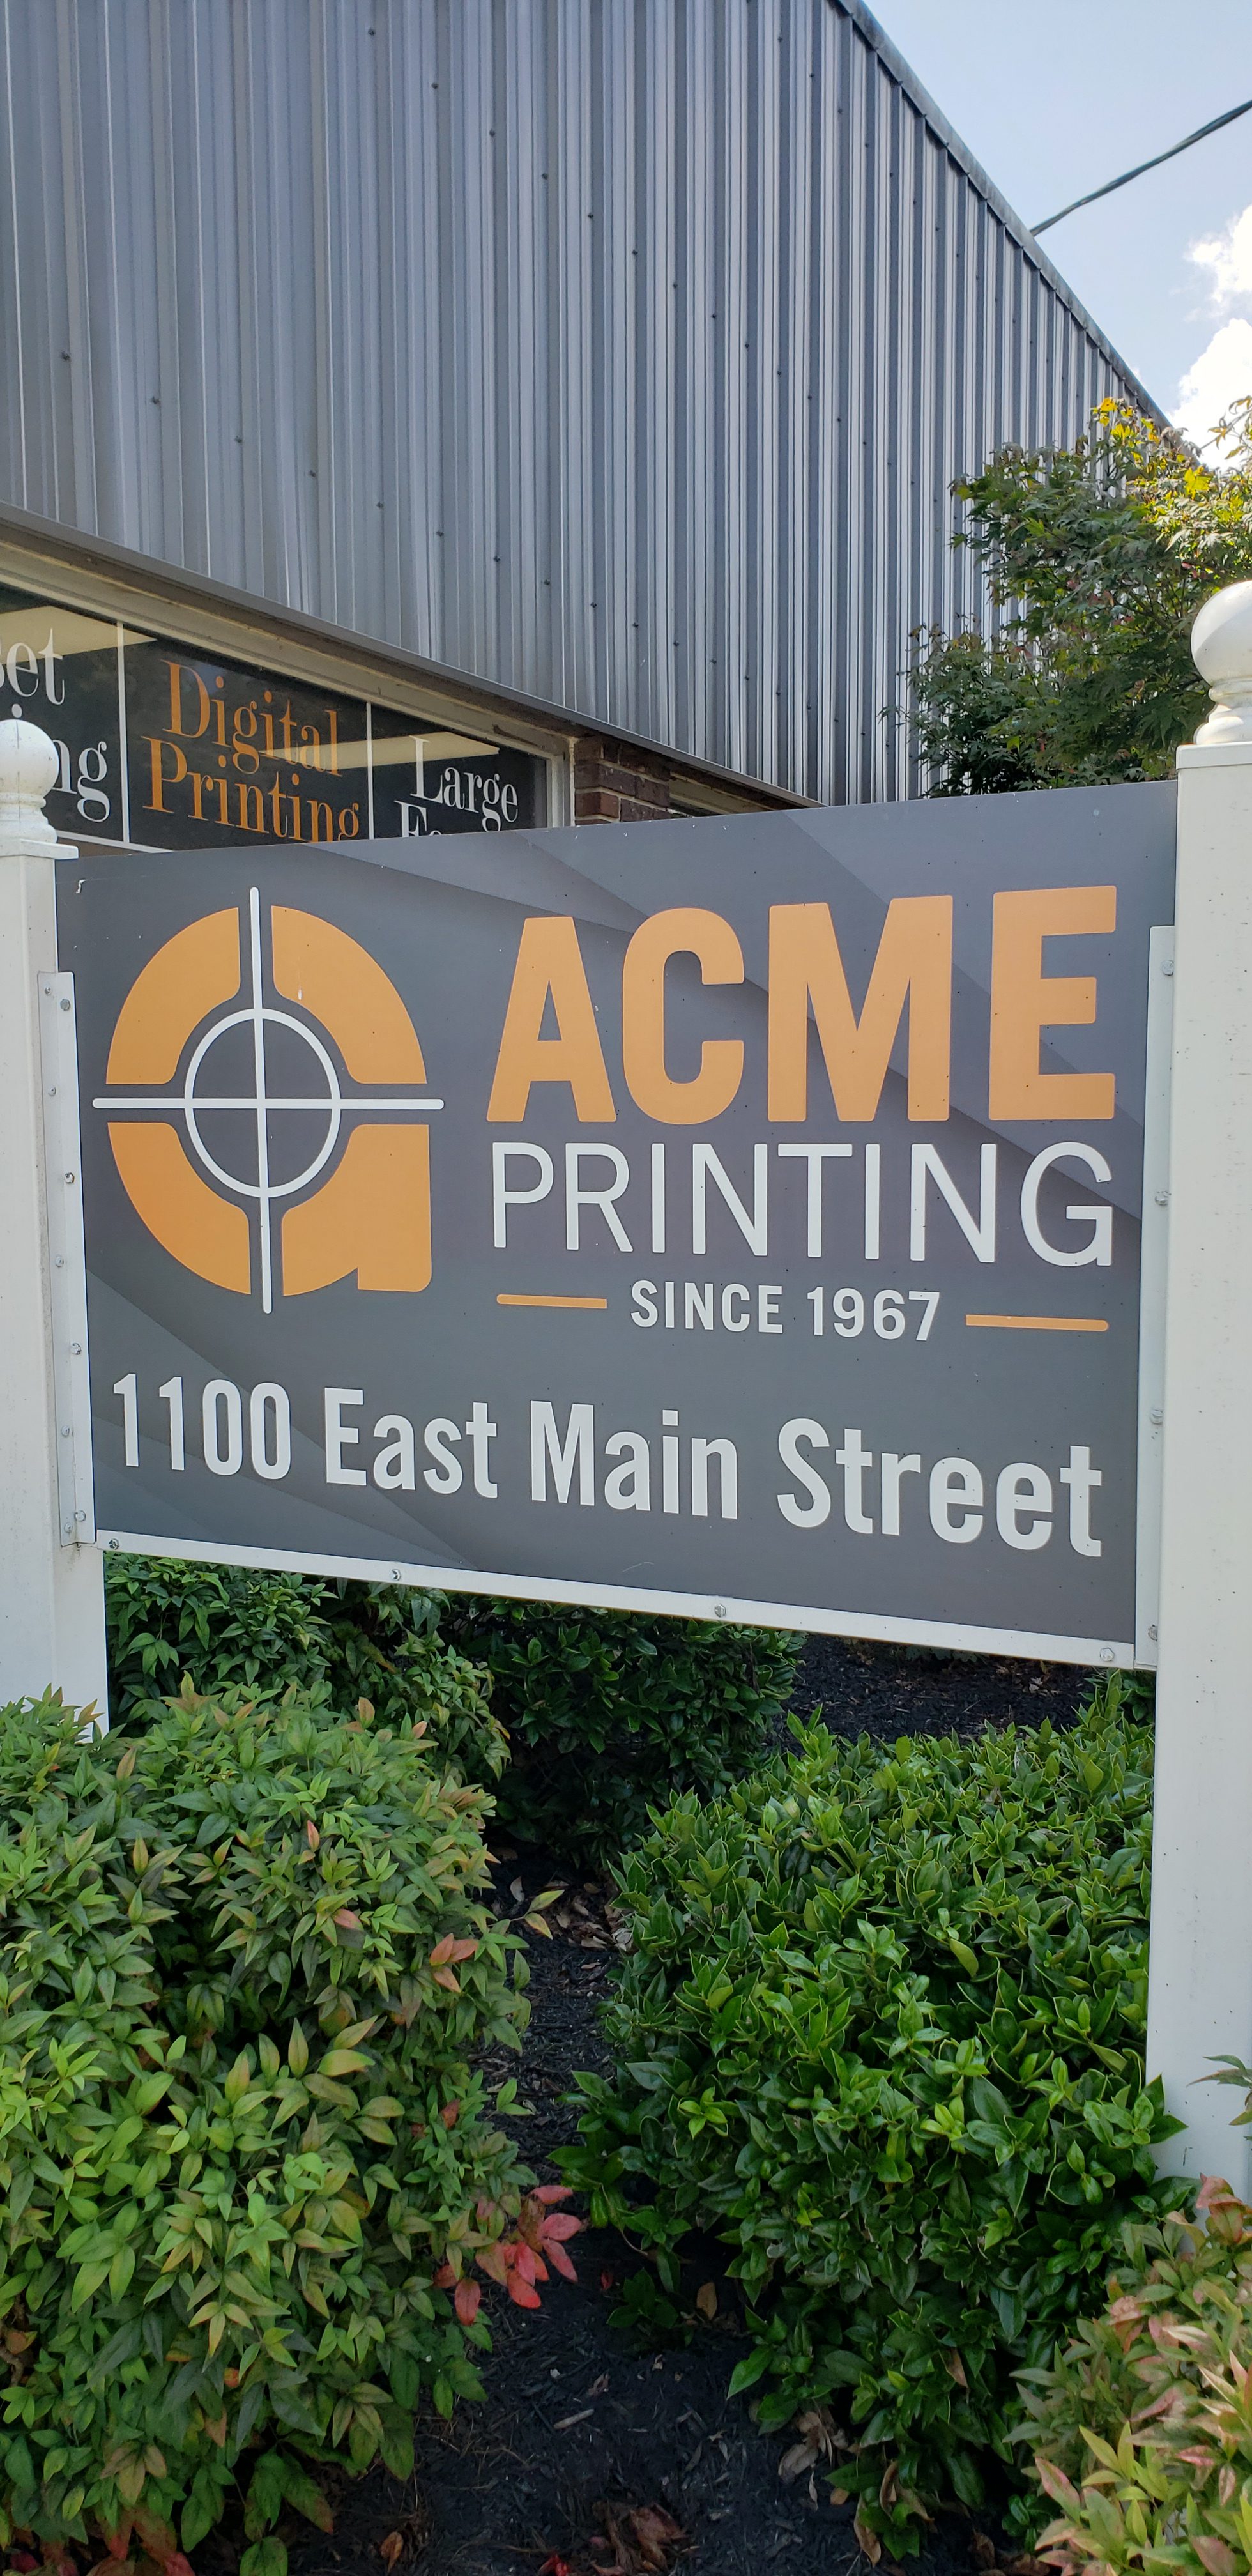
Assistance with Preparing Print Files at Acme Printing in
East Tennessee
When you spend hours with your team to perfect graphic design, you want to
ensure that your ideas are printed correctly. Preparing a file incorrectly is
the most common problem seen prior to starting a print project. Above, we
outlined 5 things to prepare for when sending in your files to be printed. If
the process is still daunting to you, there is another way.
If you are just getting started with promotion, we understand how overwhelming it can be to produce a quality design and then correctly send the file off to the printer. At Acme Printing, we have been in the print business since 1967, and our years of expertise prove that we can be the answer to your company’s needs. Whether preparing your file to print, looking to have a banner made, or wanting an entire brand refresh, we can help. Our graphic designers, print coordinators, and team are ready to help you. Reach out today by calling 423-581-8528, or through our contact page.
Sorry, the comment form is closed at this time.